

When you add a new boat in a way described in Adding a new boat to the fleet, you can also add/change images that are added to it.
First of all, make sure that your images follow the next criteria:
- The first three pictures (main, plan, and interior) need to be in 4:3 ratio.
Pictures have to be in JPG format with the “.jpg” extension in lowercase letters.
Now, we can start.
1. Finding your boat
To find your boat you will need to go to Work (1.) > Yachts (2.)
2. Select a boat
Select a boat from the list (1.) and click on Images (2.) tab.
3. Adding images
Next, click on Upload (1.) button and click on the image in a small popup you want to upload, Picture (Main image) (2.), Interior (3.) or Plan (layout) (4.).
In Open window (1.), find the location (2.) of your image, click on it (3.) and click open (4.)
Continue to Upload the other 2 images until all are added.
4. Uploading additional images
Once you added the main 3 images you can add ones by going to the Documents tab (1.) and pressing the New (2.) button. You can add one image at a time.
Once all images are added, the ones you added to Documents have their Visibility set to private (1.). In order for them to become visible online, you will have to click on Private and change it to Public (2.) for each added image.
If you select Attach, it will be attached to e-mails
NOTE: 3 images added under Images are always Public and can not change Visibility
In the web version
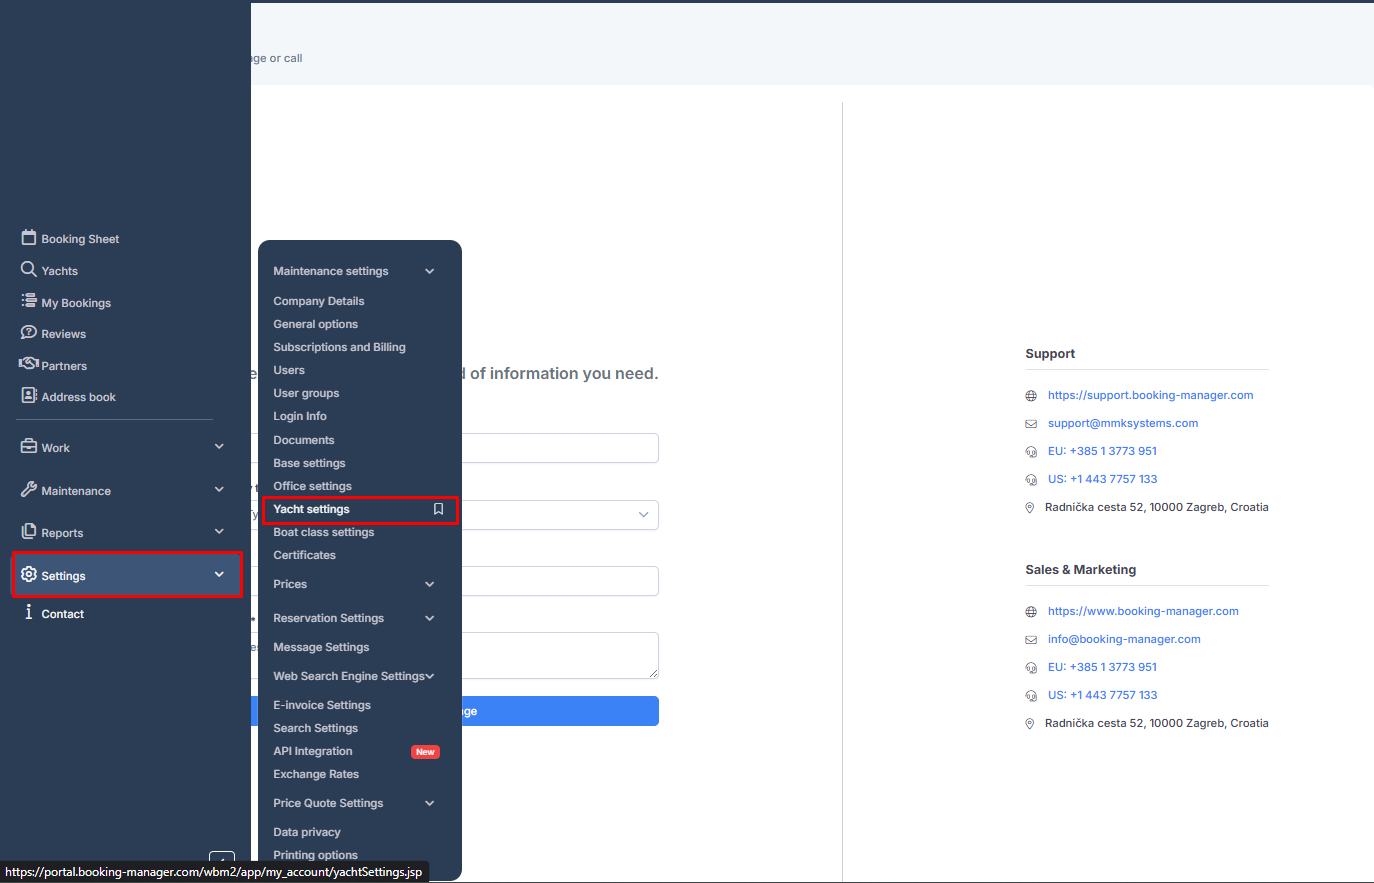
First, you need to find the boat. Go to Settings > Yacht settings
Once you find your boat, click on it. After, go to the "Images" tab. Here you can add the 3 main images of the boat:
Finally, you can add the rest of the images on the "Documents" tab:
Always make the images "public" by clicking on the "eye" button.
Comments
0 comments
Please sign in to leave a comment.